
📺
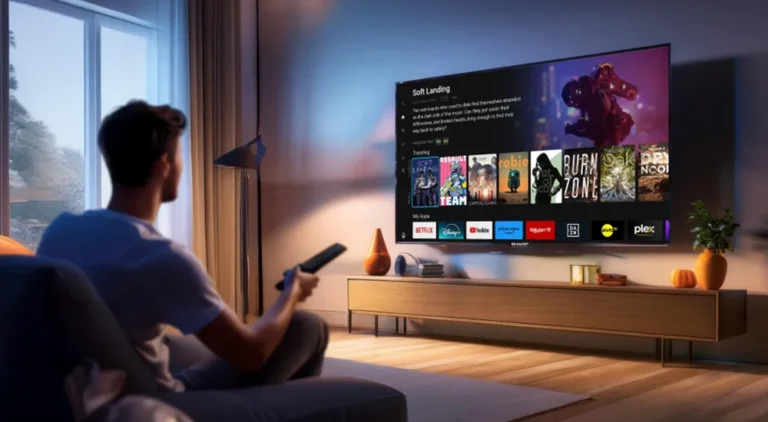
LG WebOS Users: How to Permanently Boost Smart IPTV Video Quality
Why Getting Rid of Low Quality on Smart IPTV Makes a Difference 😊
Ever looked forward to a movie night or live match, only to be greeted by a blurry screen? You’re in good company—many LG TV owners using Smart IPTV run into this. Don’t sweat it! With the right steps, you can turn those fuzzy visuals into crisp, bright picture quality. Let’s make grainy TV a thing of the past and let every show shine!
What You’ll Need Before You Start 🛠️
- An LG Smart TV running WebOS 2.0 or later
- Smart IPTV app already installed on your TV
- A solid IPTV playlist (either as a URL or M3U file)
- A steady internet connection (wired Ethernet is your best bet!)
- Your TV remote and access to your TV’s settings menu
- Optional: A VPN if you suspect your internet is being slowed down while streaming
💡Pro tip: The higher the quality of your playlist and connection, the better your shows will look!
Step 1: Set Up Your LG WebOS TV for Seamless Streaming 🚀
- Get Connected: Plug your TV directly into your router if you can. If you’re on Wi-Fi, make sure you’ve got a solid signal.
- Update Your WebOS: Head to Settings > All Settings > Support > Software Update and install any available updates.
- Restart Both TV and Router: Simply unplug both for about 30 seconds, then power them back up. Sometimes a quick reboot clears up strange issues.
- Check Your TV’s Picture Mode: On your remote, press Settings > Picture > Picture Mode. Stick with Standard or Vivid and steer clear of Energy Saving or Eco options for the sharpest image.
Step 2: Make Sure You Have the Latest Smart IPTV App 📲
- Open the LG Content Store: Find it from your TV’s home menu and open it up.
- Find “Smart IPTV”: Enter the name in the search box and click on the app when it appears.
- Install or Update the App: If there’s an Update button, hit it! You always want the latest version for the smoothest streaming.
- Open Smart IPTV: Once you’re in, the app will display your TV’s MAC address if you’re new—jot it down for later.
🔄Keeping your app up to date fixes bugs and delivers better video quality every time!
Step 3: Tweak Your Smart IPTV Settings for Top Performance ⚙️
- Go to the Smart IPTV App: Hit the Red button on your remote to pop open the settings menu.
- Switch On Hardware Decoding: Find Hardware (HW) Decoding in the settings and activate it. This allows your TV to handle video more efficiently and deliver better quality.
- Change the Buffer Size: Pick Medium or Large. This can help smooth out playback, especially if your internet speed wavers.
- Don’t Forget to Save: Once you’ve made changes, confirm and exit to keep your settings locked in.
✨These simple tweaks can really help unlock the best visuals from your TV!
Step 4: Upload Your Playlist and Enjoy Stunning Clarity 🎬
- Choose a High-Quality Playlist: Make sure your playlist is up to scratch. Don’t be shy about asking your provider for the latest link!
- Go to the Smart IPTV Upload Page: On your computer or smartphone, head over to http://siptv.eu/mylist/.
- Input Your TV’s MAC Address: Enter the MAC address you took down earlier.
- Add Your Playlist: Paste the link or upload the M3U file, then click Send.
- Restart the App: Fire up Smart IPTV again on your TV and your new channels should appear, crystal clear.
📡A good playlist makes all the difference—great source, great picture!
Still Seeing Low Quality? Try These Quick Fixes 🧐
- Blurry Picture? Try swapping out your playlist—sometimes the stream itself is poor quality.
- Lots of Buffering? Test your internet speed. Move closer to your router, or switch to a wired connection if you can.
- App Keeps Freezing? Remove and reinstall Smart IPTV. Check for app updates too—it does wonders!
- Colors Not Right? Reset your TV’s picture settings and switch back to “Vivid” mode to freshen things up.
- Think Your Internet Is Throttled? A VPN might help you bypass slow-downs.
- Playlist Out of Date? Refresh or reload your channels with a current list.
🛠️Remember, sometimes it’s the source, not your TV, causing hiccups—try a couple of playlists to be sure.
Tips to Get the Clearest Streams Every Time! 🏆
- Opt for Ethernet whenever possible: Wired beats Wi-Fi for stability hands down.
- Keep both app and TV firmware updated: It’s the easiest way to prevent bugs and get the latest perks.
- Choose premium playlists: Ask for HD or Full HD streams from your provider.
- Fine-tune your app settings: Enable hardware decoding and boost your buffer for better results.
- Set your TV to “Standard” or “Vivid”: Watch your shows come alive with more color and detail.
⚡A few quick adjustments can make your viewing experience night and day!
Wrapping Up: Fire Up Your LG TV and Enjoy Full HD! 🎉
You did it! With these easy steps, you’ll enjoy sharp, vibrant streaming on your LG WebOS TV every time you sit down. Whether you’re just getting started or you’ve fixed this issue before, these tips will keep you ahead of the curve. Just remember—stay up to date with your apps and playlists, and keep an eye on your internet connection for smooth sailing.
🚀Want to power up your streaming even further? Check out more advanced features, tips, and easy upgrades below!

