How to Change DNS on Freebox [Complete Guide]
Is your Freebox internet feeling a bit slow or blocked? 🐌 Changing your DNS can be a game-changer! It’s like giving your internet a new, faster map to find websites and services. This guide will show you exactly how to change DNS on your Freebox, step-by-step. It’s easier than you think! Let’s get your connection running smoother. 🚀
Why Change Your DNS? The Speed & Access Advantage 🏎️
Your Freebox uses a default DNS (Domain Name System) server. Think of it as a phonebook for the internet. Sometimes, your provider’s default “phonebook” can be slow or restrict certain entries. By switching to a public DNS like Google (8.8.8.8) or Cloudflare (1.1.1.1), you can often get faster browsing, better privacy, and access to a more open internet. This is especially useful for getting the best performance from your streaming services.
Your Toolkit: What You Need Before You Start 🔧
You don’t need much! Just make sure you have:
- ✅ Your Freebox router (the latest models like the Freebox Delta or Pop work the same way).
- ✅ A computer, phone, or tablet connected to your Freebox Wi-Fi or network.
- ✅ Your Freebox admin interface login details (usually found on a sticker on the router).
- ✅ Your chosen DNS server addresses. We recommend:
- Cloudflare: 1.1.1.1 and 1.0.0.1
- Google: 8.8.8.8 and 8.8.4.4
Step-by-Step: Changing DNS on Your Freebox 🧭
Follow these simple steps. It should only take a few minutes!
Step 1: Access the Freebox Admin Interface 🌐
Open a web browser (Chrome, Firefox, Safari) on your connected device. In the address bar, type: http://mafreebox.freebox.fr/ and press Enter. This will take you to your Freebox control panel.
Step 2: Log Into Your Settings 🔐
You will be asked for your admin password. Enter the password found on your Freebox router. If you changed it, use your custom password.
Step 3: Navigate to Network Settings 📡
Once logged in, look for the menu. Click on “Freebox” or the gear icon for settings, then find and select “Network” or “Réseau”. Inside, look for “Internet” or “WAN” settings.
Step 4: Find and Edit DNS Configuration ⚙️
In the Internet/WAN settings, look for a section called “DNS Servers” or “Serveurs DNS”. You will likely see it set to “Automatic” or provided by Free. Click the option to “Use custom DNS servers” or a similar button.
Step 5: Enter Your New DNS Addresses ✍️
Two fields will appear: Primary DNS and Secondary DNS. Enter your chosen addresses. For example:
Primary DNS: 1.1.1.1
Secondary DNS: 1.0.0.1
Step 6: Save and Reboot! 💾
This is the most important step! Click “Save”, “Apply”, or “Valider”. Your Freebox will likely apply the new settings. For the change to fully take effect, it’s a good idea to restart your Freebox router. Just unplug it for 30 seconds and plug it back in.
Troubleshooting: Common Hiccups and Fixes 🛠️
Ran into a problem? Don’t worry, here are quick fixes:
- Can’t access mafreebox.freebox.fr? Make sure your device is connected to your Freebox Wi-Fi, not mobile data.
- Forgot your password? You may need to reset your Freebox to factory settings (the button on the back).
- Internet stopped working after the change? Double-check you entered the DNS numbers correctly. No letters, just numbers and dots. Try using Google’s DNS (8.8.8.8) as a test.
- Change didn’t speed things up? Give it a few hours. Clear your browser’s cache. The speed boost can be subtle but is often noticeable with streaming.
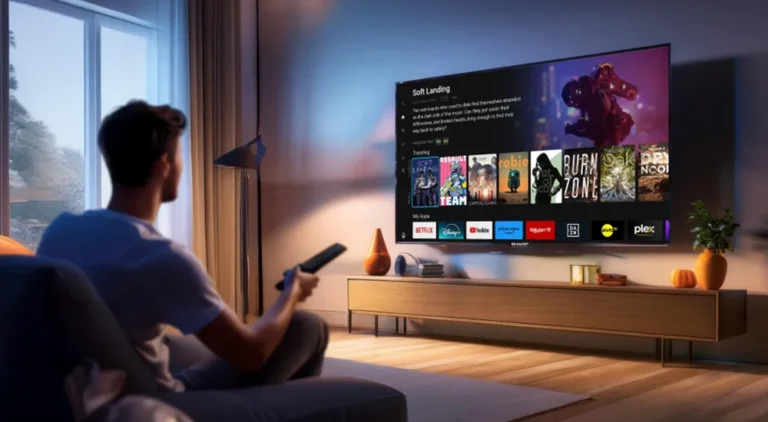
Why This Matters for Your Streaming Experience 📺
A faster, more reliable DNS means less buffering and quicker loading times when you’re watching your favorite shows and live events. It helps your device find the streaming server’s location more efficiently. For the ultimate seamless viewing experience, pairing a good DNS with a top-quality service is key.
Final Checklist & Next Steps ✅
You did it! Let’s review:
- ✅ Logged into your Freebox settings.
- ✅ Found the custom DNS option.
- ✅ Entered new, fast DNS addresses.
- ✅ Saved and rebooted your router.
Now, enjoy your faster, more open internet! Test it by browsing and starting a stream. Notice the difference? Happy streaming! 🎉