
MAG WiFi Setup – Wireless Connection Guide 🚀
Are you tired of messy cables? Want to place your MAG device anywhere in your home? You are in the right place! This guide will show you how to connect your MAG box to WiFi. It is easy and fast. Let’s cut the cord together! 😊
Prerequisites: What You Need Before Starting 📋
Before we start, make sure you have these things ready. It will make the setup smooth.
- ✅ A MAG device (like MAG 254, 322, 420, etc.).
- ✅ A stable WiFi network in your home.
- ✅ Your WiFi network name (SSID) and password.
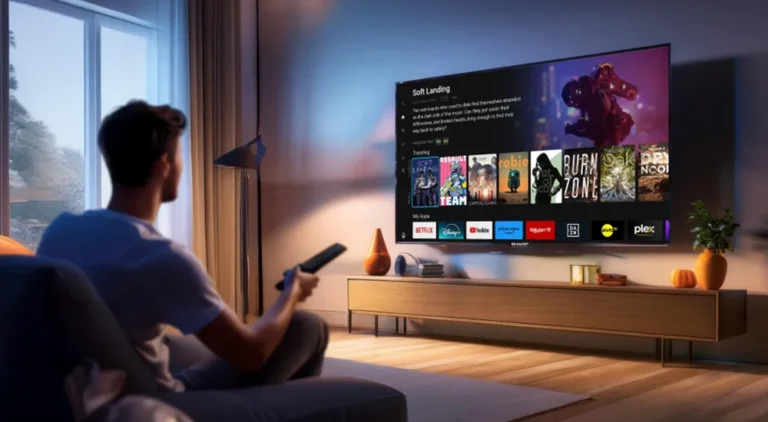
- ✅ A TV and an HDMI cable.
- ✅ The MAG remote control (with working batteries!).
Got everything? Great! Let’s move to the first step.
Step 1: Preparing Your Device for Installation 🔧
First, connect your MAG box to your TV with the HDMI cable. Plug in the power cable. Turn on your TV and select the correct HDMI input. You should see the MAG loading screen. Grab your remote! 🎮
Now, you need to get to the main menu. If your device is new, it might ask for a language. Choose your language. If it is already set up, just wait for the main menu to appear.
Step 2: Finding the Network Settings 🔍
This is the most important part. On the main menu, look for the “Settings” icon. It often looks like a gear or toolbox. Use the remote to select it. Inside Settings, find “Network” or “Network Settings”. Select it. You will see options like “Wired” and “Wireless”. Choose “Wireless” (WiFi).
💡 Tip: If you don’t see a wireless option, your specific MAG model might not support WiFi. Check your device manual.
Step 3: Connecting to Your WiFi Network 📶
Your device will now search for available networks. A list will appear. Find your home WiFi name (SSID) in the list. Select it with the OK button on your remote.
Next, a keyboard will pop up on your screen. Use the remote to type your WiFi password. Be careful with capital letters and numbers! When done, select “Connect” or “Apply”.
Your MAG box will now try to connect. You should see a message like “Connected” or an IP address appear. This is a good sign! 🎉
Step 4: Testing Your Connection ✅
Do not skip this step! Go back to the main menu. Try to open an app or portal. If you use an IPTV service, try to load your portal. If it loads, congratulations! Your wireless setup is complete.
If nothing loads, go back to Network Settings. Check if the status is “Connected”. If not, you might have typed the wrong password. Try again.
Troubleshooting Common Setup Errors 🛠️
Sometimes things don’t go as planned. Here are quick fixes for common problems:
- ❌ “No Networks Found”: Move your MAG box closer to the router. Restart both your router and MAG box.
- ❌ “Authentication Error”: Double-check your WiFi password. Is CAPS LOCK on?
- ❌ Connected but No Internet: Restart your router. Check if other devices can use the WiFi.
- ❌ Slow or Buffering Streams: Your WiFi might be weak. Consider using a wired connection for the best IPTV experience, or get a WiFi extender.
Optimizing for Best Performance ⚡
For a perfect viewing experience, follow these tips:
- Place your MAG box and router in the same room if possible.
- Avoid walls and metal objects between them.
- Use the 5GHz WiFi band if your router and MAG support it (less interference).
- Regularly restart your MAG device to clear its memory.
Following these will give you smooth streaming for Movies, Series, and Sports. 🏆
Conclusion & Next Steps: Enjoy Your Wireless Freedom! 🎬
You did it! Your MAG device is now connected wirelessly. You can enjoy all your favorite content without any cables. Remember, a strong WiFi signal is key for good streaming.
Ready for the next level? To manage your IPTV subscriptions and playlists easily on many devices, check out a powerful professional app.
Thanks for reading! Enjoy your wireless setup. 😄