
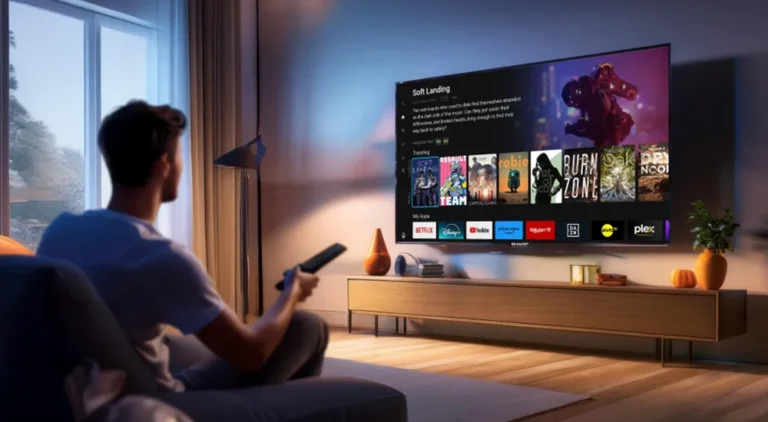
🎬 Fixing Audio Sync Error on Kodi IPTV Addon for Sony Bravia: The Friendly Fix-It Guide
Ever settled in to watch your go-to show or the big game, only to find the audio’s out of step with what’s happening on screen? 😳 You’re in good company! Plenty of Sony Bravia TV fans hit this audio sync snag with the Kodi IPTV addon. At first, it’s like watching an old-school dubbed movie—funny for a second, but frustrating in a hurry.
This guide will walk you through, step by step, how to squash those pesky audio sync issues on your Sony Bravia with Kodi IPTV. We’ll also toss in a few quick tricks to make your setup run smoother than ever. Ready to kiss lip-sync fails goodbye? Let’s dive right in! 🚀
🔍 Prerequisites: What You Need Before You Start (Beginner-Friendly!)
- ✅ Sony Bravia Smart TV (Android TV from 2015 or later)
- ✅ Internet Connection (Wi-Fi works, but Ethernet is top-notch!)
- ✅ Google Account (for Play Store downloads)
- ✅ Kodi App (install from the Play Store or sideload the APK)
- ✅ Your IPTV playlist or login details (provided by your IPTV service)
- 💡 Remote Control (trust us, you don’t want to hunt for buttons!)
That’s all you need! Got everything handy? Let’s get your audio sync back on track.
🎯 Step 1: Getting Your Sony Bravia Ready for Kodi
- Power on your TV and make sure it’s connected to the internet (wired or strong Wi-Fi for smooth streaming).
- Head to Settings > Device Preferences > About > System Update. If there’s an update available, go ahead and install it. 🚦
- Open the Google Play Store on your TV and search for Kodi. If you can’t find it, don’t fret—you can always sideload the APK via USB.
- Once Kodi is installed, launch it. You’re ready to roll on to the next step!
⬇️ Step 2: Downloading the Right IPTV Addon for Kodi
- Inside Kodi, head to Add-ons from the main screen.
- Choose Download > PVR Clients.
- Scroll to PVR IPTV Simple Client—this is a fan favorite for playlists. Hit Install.
- Give it a moment to install. Once you see the checkmark, you’re good to go! 👍
With the addon in place, you’re all set to start streaming your channels.
🔧 Step 3: Configuring Your IPTV Server Settings (Don’t Worry, It’s Easy!)
- Open Kodi’s Settings (look for the little gear icon).
- Navigate to Add-ons > My Add-ons > PVR Clients > PVR IPTV Simple Client.
- Select Configure.
- In the General tab, pop in your playlist URL or select the local file (your IPTV provider should supply this).
- If you’ve got an EPG URL (for program guides), switch to the EPG Settings tab and paste it there.
- Hit OK to save your changes. If Kodi asks to restart, let it do its thing.
Awesome job! You’ve just aced the configuration step. 🌟
📺 Step 4: Loading Your Playlist and Testing Playback
- Return to Kodi’s main screen.
- Pick TV or Live TV from the sidebar options.
- Your channel list should be ready. Try playing one—maybe from Sports or Movies—to see how things look and sound.
- If you notice the audio’s lagging behind (or racing ahead), don’t sweat it. We’ll tackle that next!
🛠️ Troubleshooting Common Audio Sync & Setup Errors
- 1. Adjust Audio Settings in Kodi:
While your stream is playing, open the settings (⚙️), and select Audio offset. Move the slider until voices line up with lips.
In Settings > System > Audio, try toggling “Allow passthrough” or switching the audio output device—sometimes a little tweak does the trick. - 2. Update Everything:
Keep Kodi, your IPTV addon, and your Sony Bravia’s software up to date (see Step 1) for best results. - 3. Change Video Decoder Settings:
In Settings > Player > Videos, try turning hardware acceleration like “MediaCodec” or “MediaCodec (Surface)” on or off. At times, switching these off helps with sync problems. - 4. Check Your Network:
Wi-Fi can be fickle! If you can, hook up an Ethernet cable for a more solid stream. Or, try your playlist on another device to see if the issue is with the stream itself. - 5. Use an External Player:
Kodi lets you use VLC or other players to open channels. External players sometimes handle tricky audio/video sync better on Android TVs. - 6. Clear Cache and Data:
On your TV, go to Settings > Apps > Kodi, then clear the cache or data. This often nips weird glitches in the bud! - 7. Still not working? The issue might be rooted in the playlist stream itself. Reach out to your provider or try another playlist if you can.
🚀 Optimizing for the Best Streaming Performance
- 📶 Go Wired! Whenever possible, connect your TV directly to your router with an Ethernet cable for the smoothest, most reliable stream.
- 🔄 Restart Regularly — Giving your TV and Kodi app a restart now and then keeps things running like a well-oiled machine.
- 🧹 Clear App Cache every few weeks to keep your streaming speedy and glitch-free.
- 🆕 Stay Updated — Keep both Kodi and its addons up-to-date for the best experience.
- 🌐 Limit Other Devices — Too many gadgets on Wi-Fi can slow things down. Pause or disconnect unused devices for smoother streaming.
- 🎛️ Check Audio Settings after any updates. New software can reset your preferences, so double-check if something sounds off.
🌎 Conclusion & Next Steps: Stream Like a Pro—Even When You Travel!
Give yourself a pat on the back! 🎉 You now know how to set up and tackle audio sync issues like a pro on Kodi IPTV for your Sony Bravia. No matter if you’re binging your favorite series, catching live matches, or hosting a movie night, you’re all set for perfectly synced sound every time.
- ✈️ Traveling? You can take your playlist and settings with you—just sign in on any Android TV or device with Kodi.
- 🛡️ Keep Your Details Safe: Guard your playlist URLs and logins—never share them around.
- 🔄 Back Up Your Kodi Settings before swapping TVs or resetting your device, so you don’t have to start from scratch.
If you’d like even more features or want a player customized for IPTV, give IPTV Smarters Pro a try below. Happy streaming! 😊